Introduction
Last week Docker announced its own cloud service:
Announcing @Docker #Cloud, new cloud service by #Docker expanding on @tutumcloud features: https://t.co/tAiBgRy4wr pic.twitter.com/kOHPhx1fJz
— Docker (@docker) March 1, 2016
To try it out, I created a small ‘Hello World’ web app, and deployed it to the docker cloud.
Create a ‘hello world’ and dockerize it
For my ‘hello world’ I decided to create a simple Spring Boot application, because its created very quickly and I don’t need any application server or servlet container.
To dockerize the application I created a Dockerfile:
FROM java:8

# Install maven to build project
RUN wget --no-verbose -O /tmp/apache-maven.tar.gz http://archive.apache.org/dist/maven/maven-3/3.3.9/binaries/apache-maven-3.3.9-bin.tar.gz
RUN echo "516923b3955b6035ba6b0a5b031fbd8b /tmp/apache-maven.tar.gz" | md5sum -c
RUN tar xzf /tmp/apache-maven.tar.gz -C /opt/
RUN ln -s /opt/apache-maven-3.3.9 /opt/maven
RUN ln -s /opt/maven/bin/mvn /usr/local/bin
RUN rm -f /tmp/apache-maven.tar.gz
ENV MAVEN_HOME /opt/maven
ENV PATH $MAVEN_HOME/bin:$PATH

WORKDIR /app

# Add POM and source
ADD pom.xml /app/pom.xml
ADD src /app/src

# Build the app
RUN ["mvn", "clean", "package"]

# Run the app
RUN bash -c 'touch /app/target/hello-world-0.0.1-SNAPSHOT.jar'
ENTRYPOINT ["java","-Djava.security.egd=file:/dev/./urandom","-jar","/app/target/hello-world-0.0.1-SNAPSHOT.jar"]
As you can see, I used Maven to build the project. I just took the Java-8 Image and added Maven manually. I’m new with docker, so maybe this isn’t the best way, but it works for my ‘Cloud hello world’.
You can find the whole project on Github: https://github.com/stefan-ka/spring-boot-docker-helloworld
Now I can build and run the docker container very easy:
docker build -t my-hello-world .
docker run -d -p 8080:8080 my-hello-world
Docker Hub
Docker allows you to push your Images to Docker Hub. You can create a repository directly on Docker Hub, or link Docker Hub with your Github repository. As you already saw above, I created a GitHub-Repo.
To make the image available inside Docker Hub and build the Image there, you can create an “Automated build”. Make sure you have linked your Docker Hub account with your Github account.
From your Docker Hub Dashboard you can click “Create” and then “Create Automated Build”. Then you can choose between Github and Bitbucket:
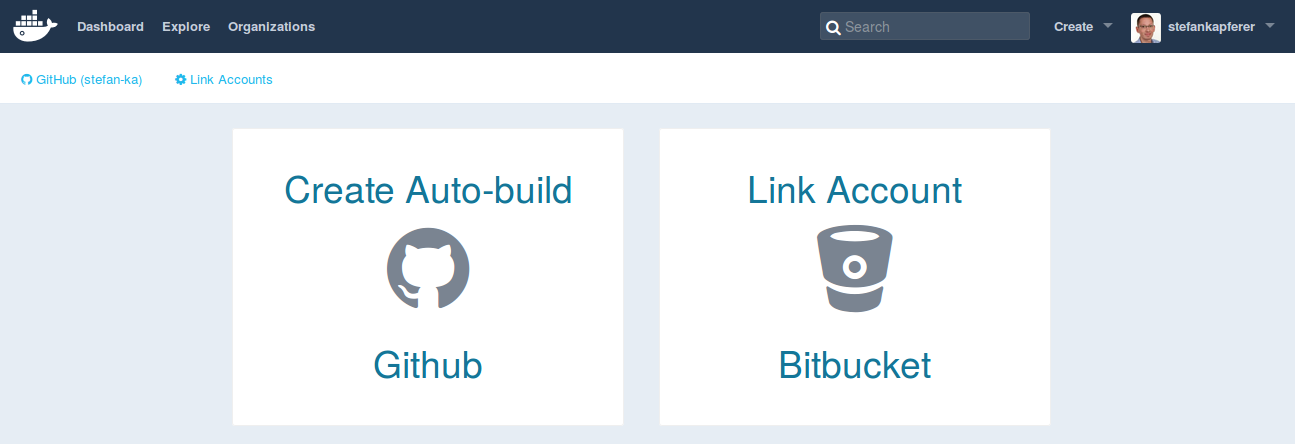
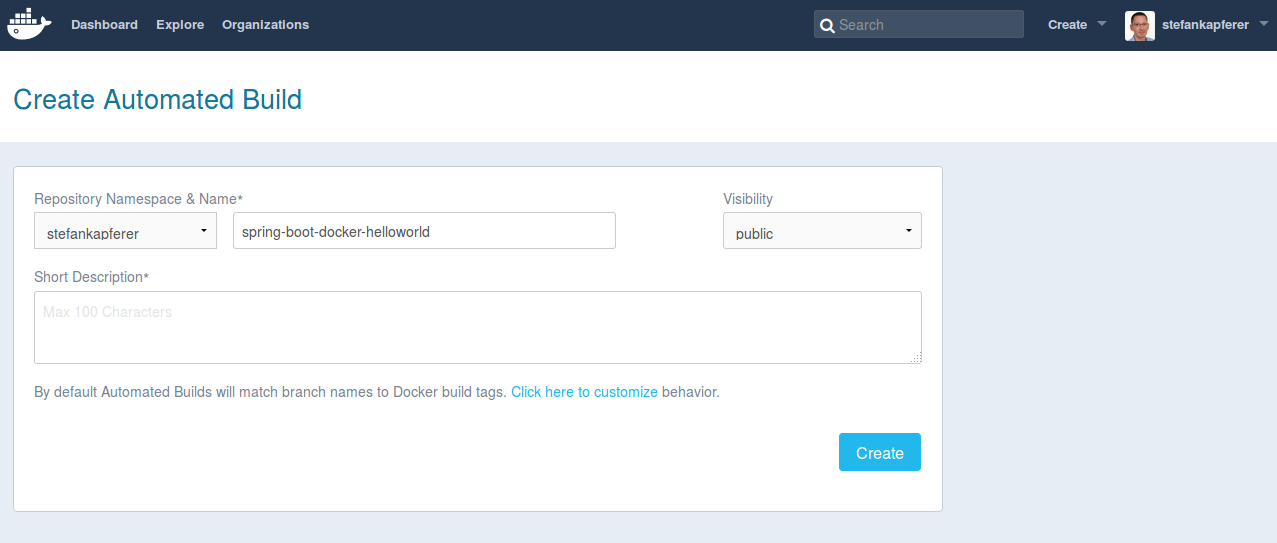
Choose Github and select your repository. In the end you can define a name for your automated build, give a short description, and define its visibility:
After you have created your automated build you can trigger a build by pushing some changes to the repository, or manually trigger it on tab ‘Build settings’. After that, you can check the build status on tab ‘Build Details’:
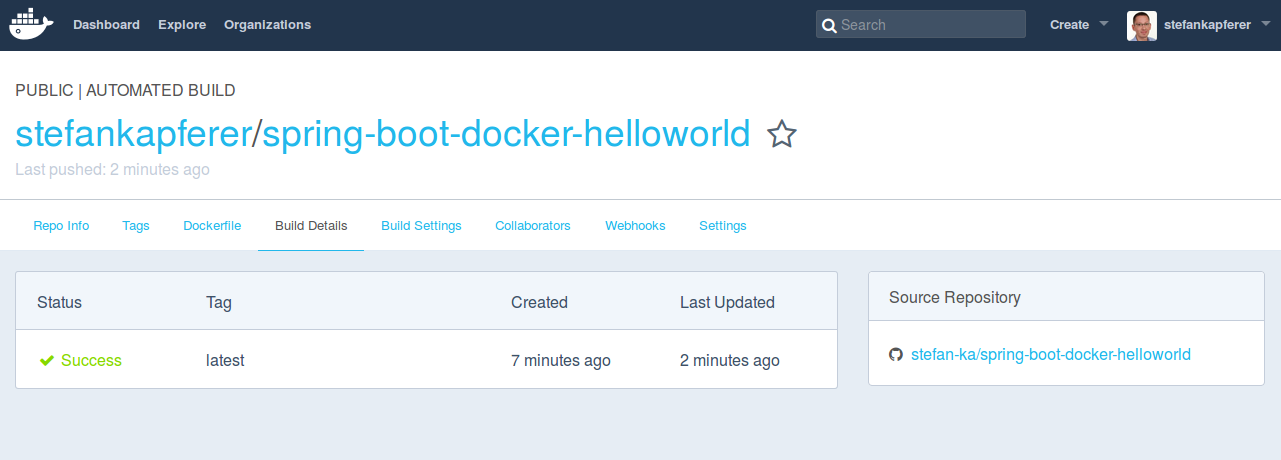
Make sure that your build is successful before continuing with docker cloud setup.
Run the image in the docker cloud
You can login to the Docker Cloud with your Docker-Hub account.
First you have to link your account with a cloud provider. For my ‘hello world’ I used Amazon Web Services:
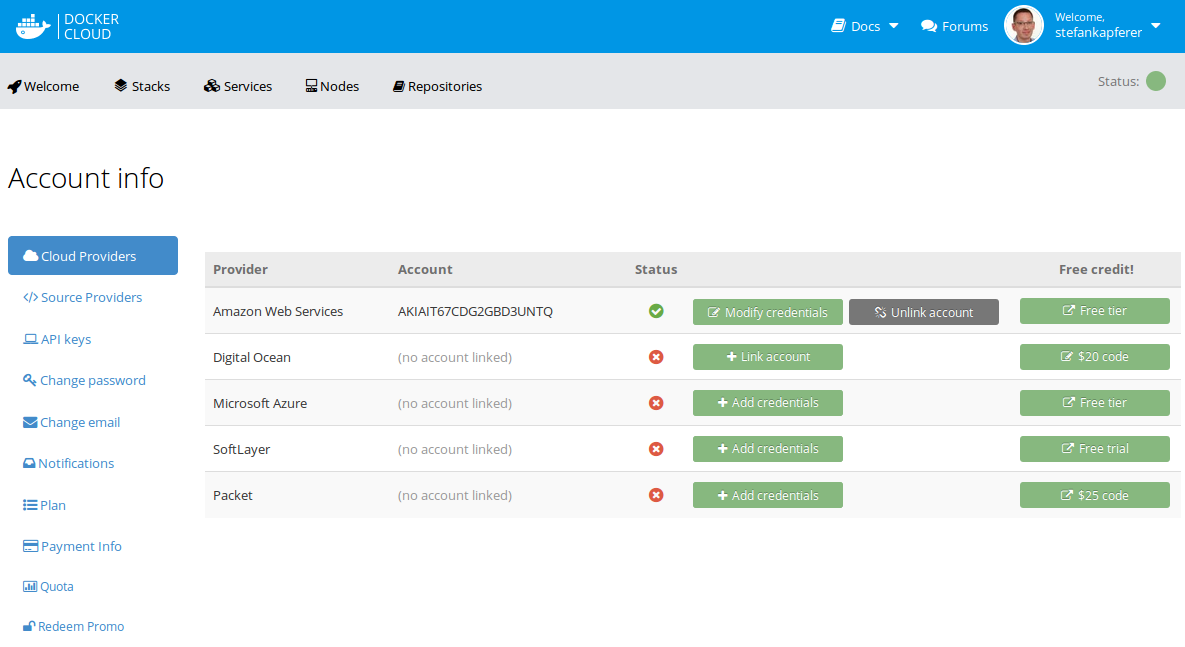
You can find a description how to link the docker cloud account with your amazon account here.
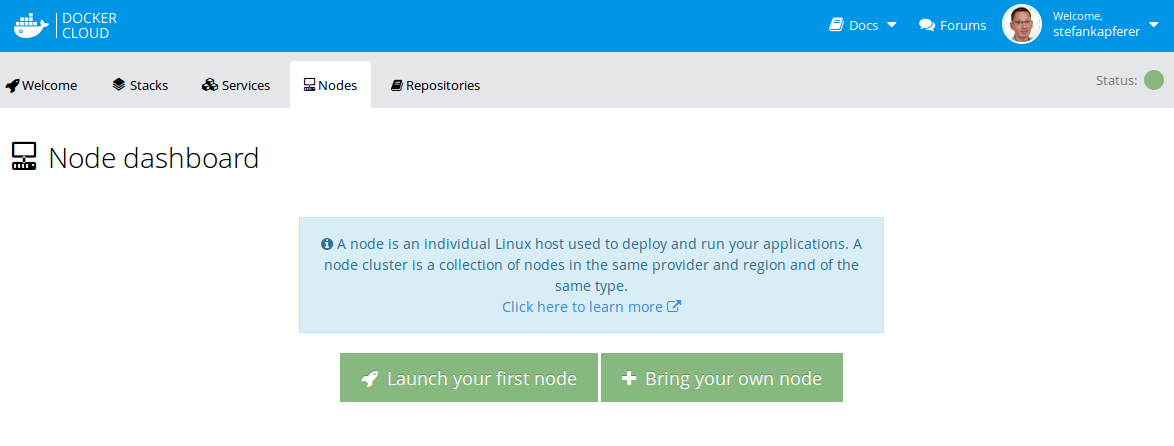
After you linked those accounts your first have to create a Node. On tab “Nodes”, click “Launch your first node”:
Type a name for your node, maybe you want to select another region, and select your node size:
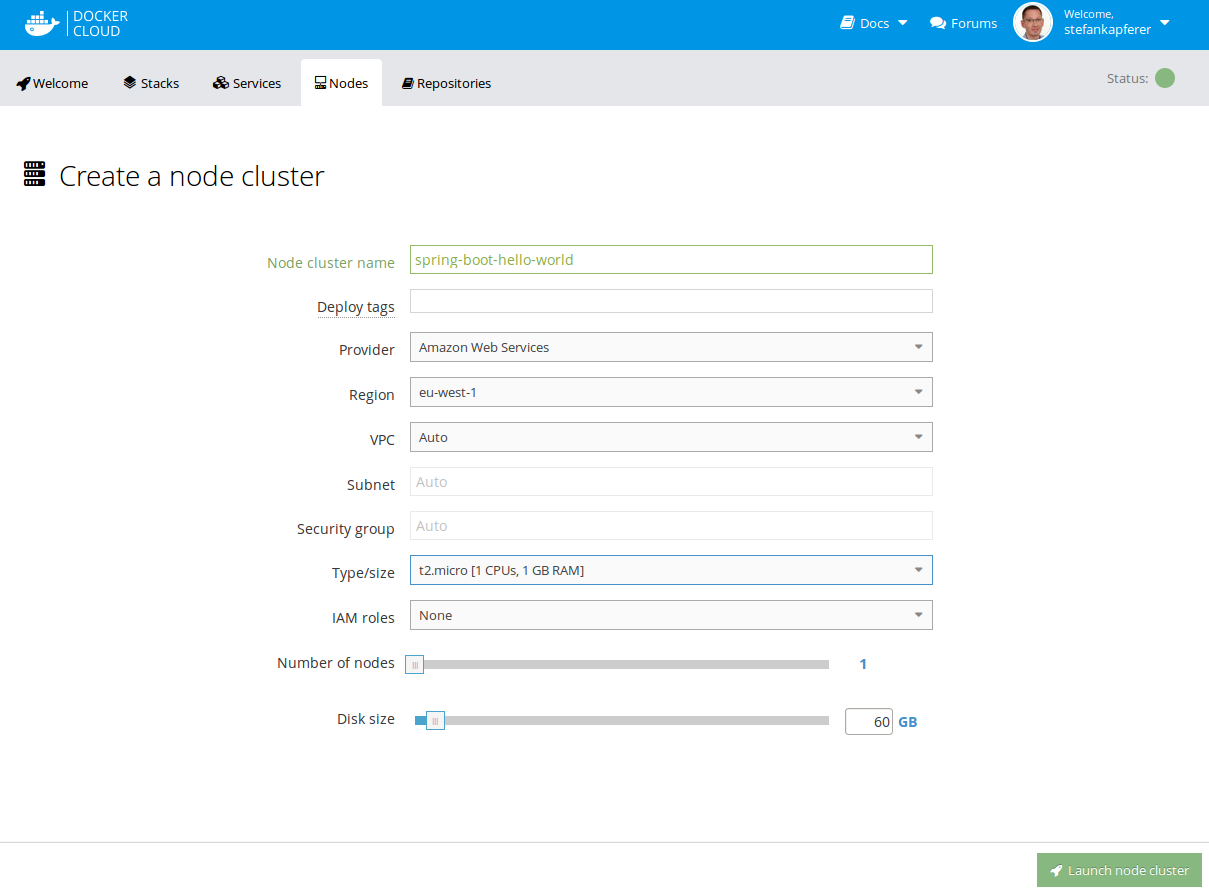
Click “Launch node cluster”…
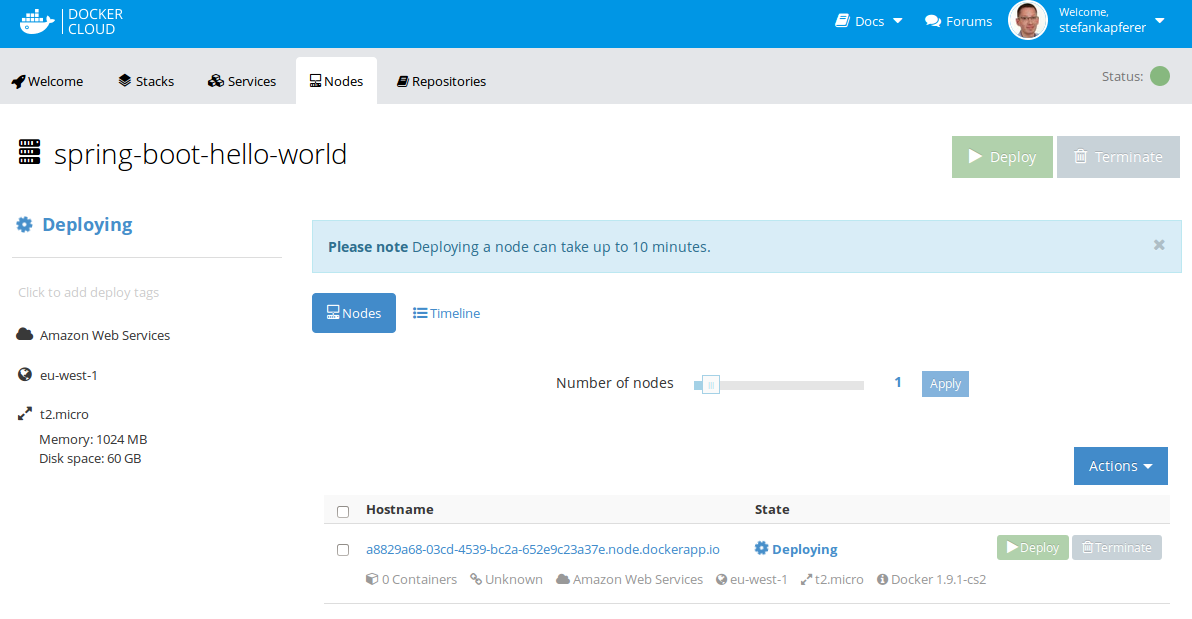
Your node is now deploying, this can take some minutes:
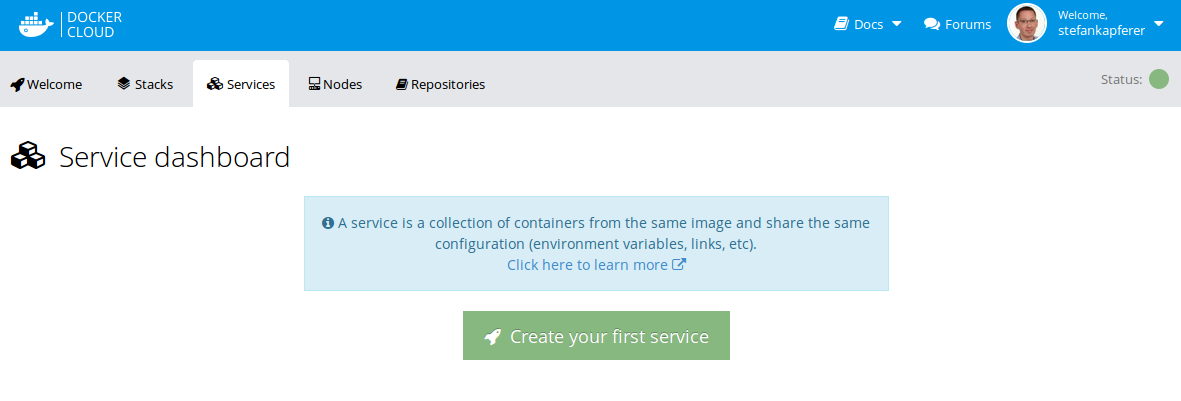
The next step is creating a service. Go to service tab and click “Create your first service”:
Now you can select your repository from Docker Hub under “My repositories”:
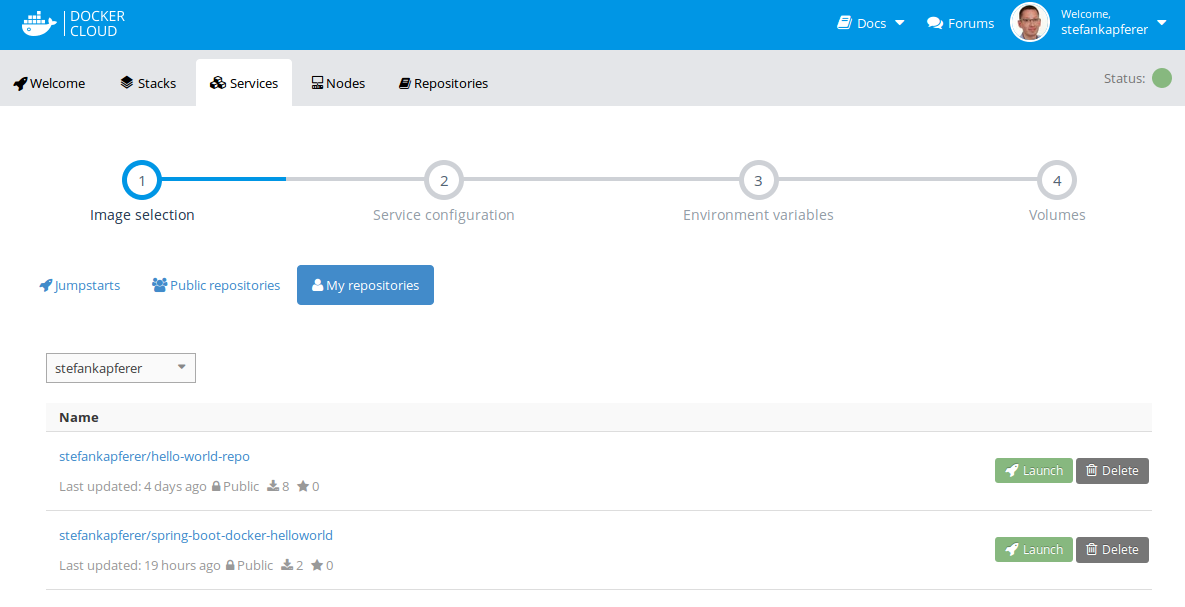 Click “Launch” on the repository you want to use for your service.
Then you can configure your service:
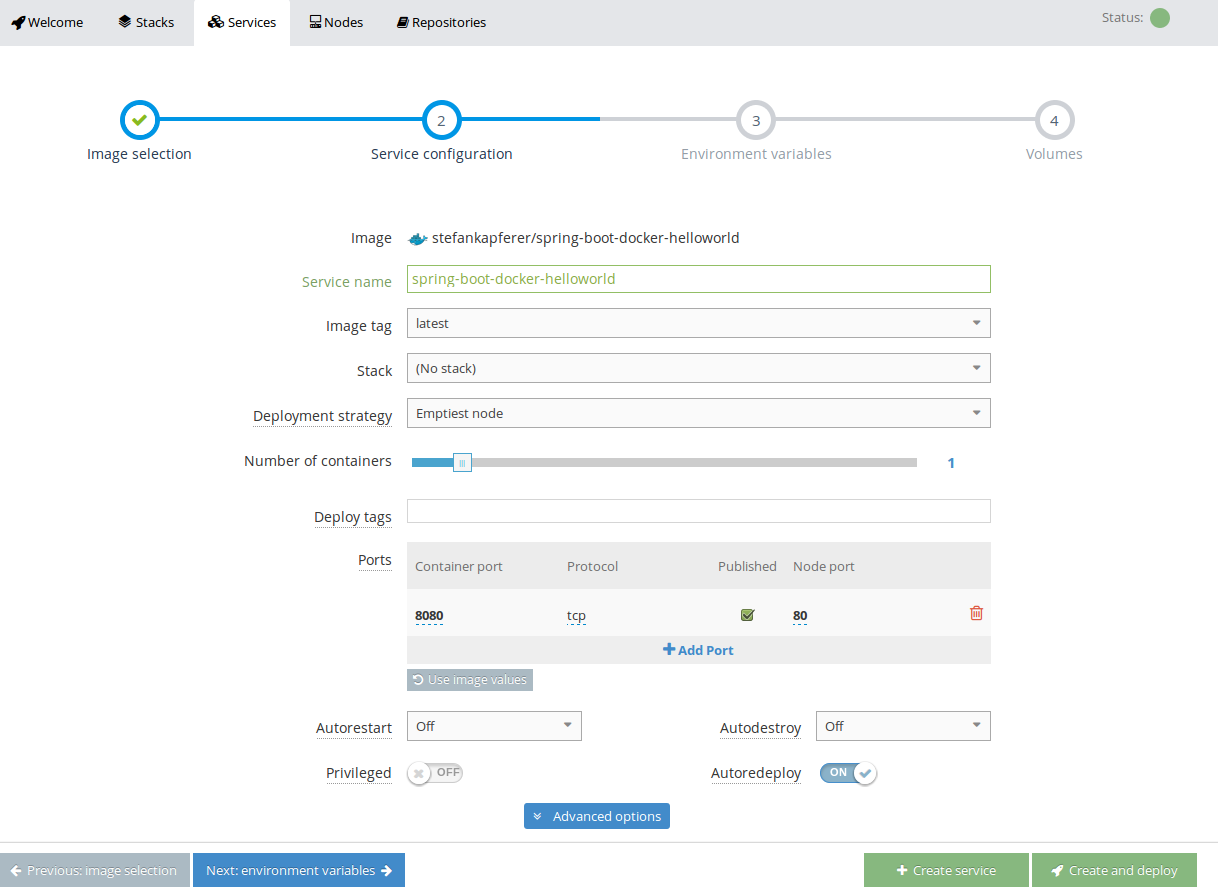
In my case I added a port-mapping, so that my container port 8080 is mapped to port 80. I also enabled Autoredeploy. This is very cool, if enabled, your application will redeploy automatically if you push something to your Git-Repository.
When you have configured everything, click “Create service”.
You will be redirected to the follwing page, where you just can click “Start”, to run your service on your node:
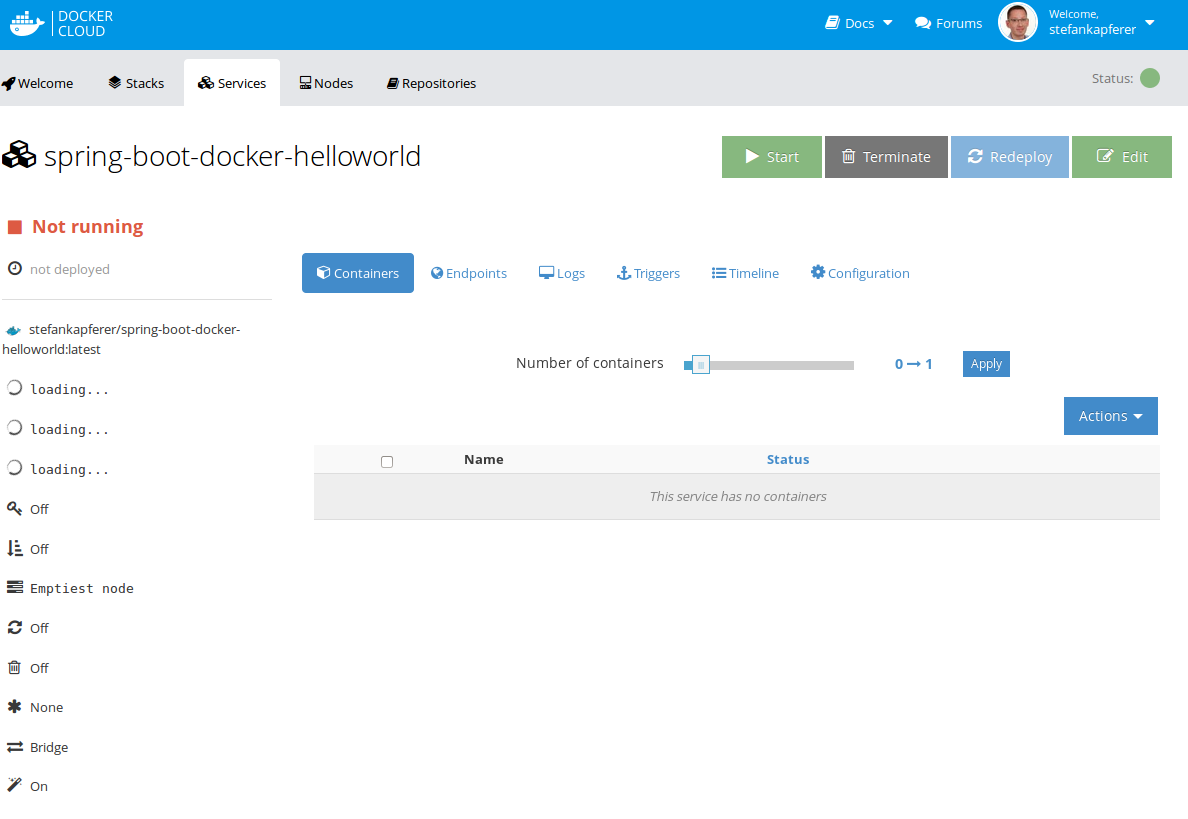
The service is starting now. This can take some time. When your service is running, you can find a link to your application under endpoints:
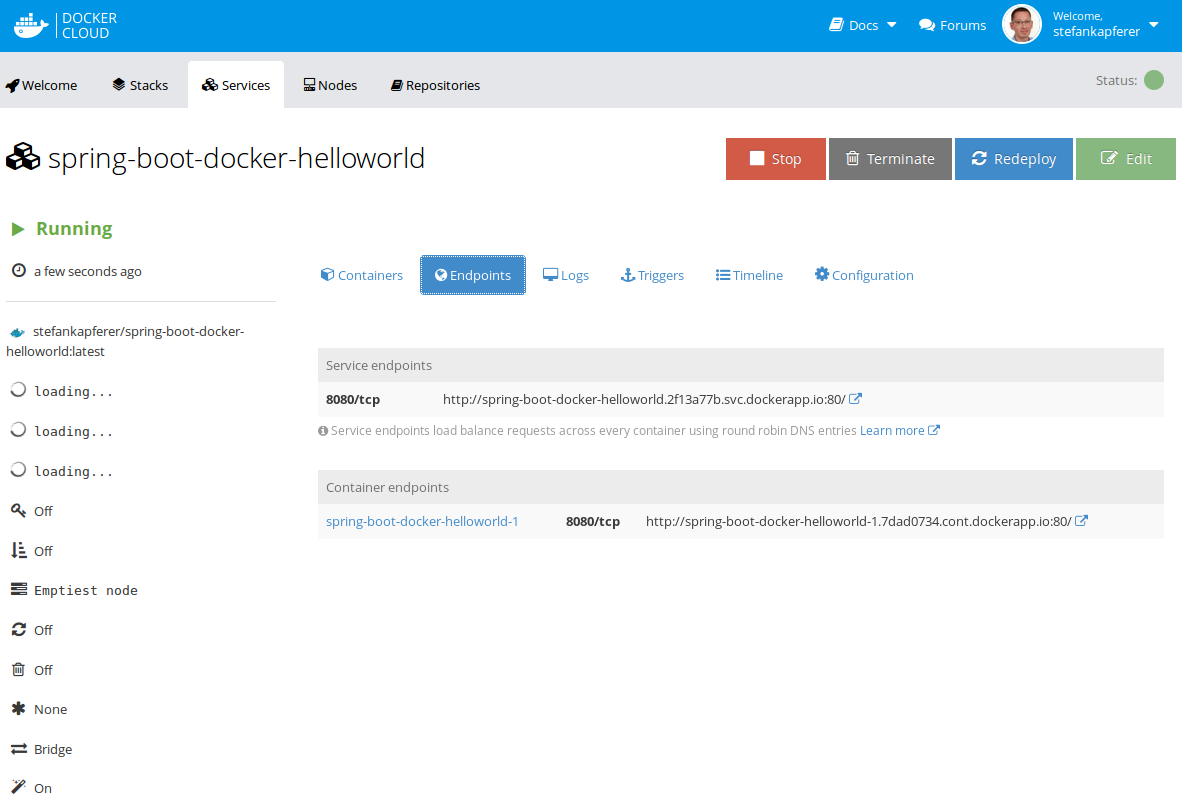
Click on the link, and voilà:
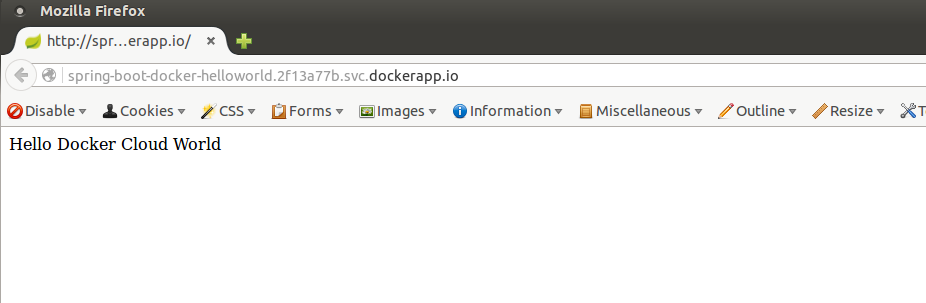
The ‘hello world’ application is up and running inside the docker cloud.
If you push something to your Git-Repo, the Docker Hub will automatically build your image and Docker Cloud will redeploy your app.